ue4-shader-自定义深度CustomDepth
官方说明: 把 标记 了的物体渲染到 另一个深度缓冲区 ( 叫做: 自定义深度缓冲区 ). 会增加额外的 draw call 但不需要材质球. 这个渲染是相当廉价的因为只输出深度. 这个特征的使用需要勾选上 mesh 组件中的 render customDepth pass ( 也就是标记 )
前篇
- 官方文档: CustomDepth Stencil - https://docs.unrealengine.com/en-US/Engine/Rendering/PostProcessEffects/PostProcessMaterials
问题与限制
- 对于 透明 材质, 必须勾选上 Allow Custom Depth Writes 选项 ( 暂时只确定里 4.20+ 以上的版本才起作用 )
- Because the buffer is filled with all objects using Custom Depth it will not work when having multiple overlapped meshes (one behind the other) depending on how you’re using the depth value – a transparent mesh might be entirely culled if you use custom depth to cull inner triangles. A possible workaround is to add a maximum depth difference when looking for inner triangles to reduce the errors.
使用流程
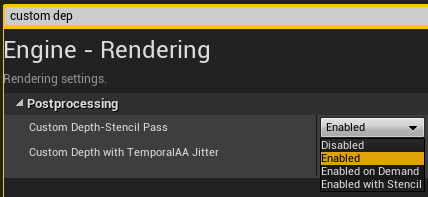
项目开启模板测试, 默认是关闭的. project settings -> engine -> rendering -> postprocessing -> custom depth-stencil pass, 不选取 disabled 都可以开启.

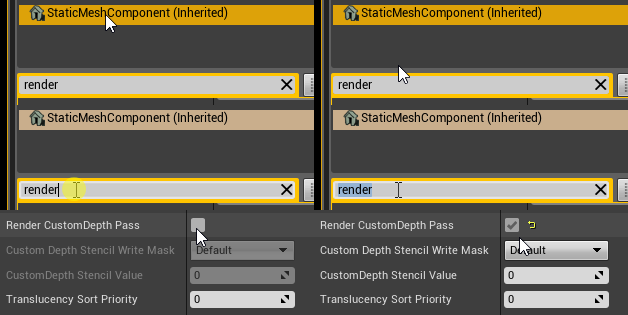
给物体指定 模板值. 在 mesh 组件下搜索 render,
勾选 render customDepth pass

如果使用c++, 相关代码
1
GetMesh()->SetRenderCustomDepth(true);
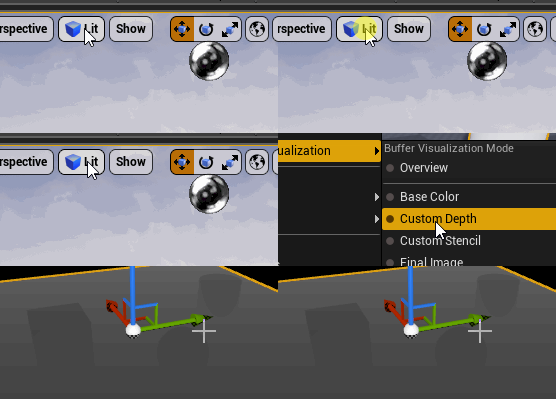
可以查看一下. lit -> buffer visualization -> custom depth

测试
参考: Partial Post-Process Effect Application in UE4 - https://ferkizue.blogspot.com/2018/08/partial-post-process-effect-application.html